How to Manage Job Application Portal Accounts: Email, Passwords, Verification and When to Skip
A practical system for the many careers-portal accounts a job search creates: a dedicated email, a password manager, a portal log in your tracker, fast verification and clear rules for skipping.
Publisher disclosure: Apply with AI makes the extension discussed on this site. Product mentions and comparisons reflect that commercial interest.

Once you apply beyond LinkedIn Easy Apply, many employers send you to their own careers site, and many of those sites want an account. A few weeks into a search you can end up with dozens of logins, verification emails you half remember, and applications whose status lives somewhere you can no longer find.
This guide gives a simple system for keeping portal accounts under control: what to set up once, what to record for each employer, how to handle verification, and when an account is not worth creating.
The short answer
Treat portal accounts as part of your application records. Use one email address only for your job search, let a password manager create and store a unique password for every portal, log each account in your application tracker, and finish email verification right away. Decide in advance which portals are worth an account and which you will skip.
Most of the frustration comes from the moment you need an account again, such as checking a status, updating a resume or applying to a second role at the same company. If the email, login link and password are already recorded, the second visit takes a minute instead of a reset-password detour.
- One dedicated job-search email address
- A password manager with a unique password per portal
- A Portal column (or tab) in your tracker
- Verification emails handled within minutes, not days
- A written rule for when a portal is not worth the account
Step 1: Use a dedicated job-search email
Portals send account confirmations, verification links, interview invitations, assessments and plenty of automated mail. Mixing that into your personal inbox is how important messages get buried.
Create or choose one professional address, such as firstname.lastname.jobs@ your provider, and use it for every application. Use the same address everywhere so you never have to guess which email you used at a given company.
- Pick a simple, professional address based on your name.
- Turn on two-factor authentication for that email account. It is the key that resets every portal password.
- Create filters or labels for common senders and subjects such as "verify", "application received" and "assessment".
- Check this inbox at least once a day while you are actively applying.
- Use the same address on your resume, LinkedIn contact info and portal accounts.
Tip Do not use a work email from your current employer. You can lose access at any time, and it is not a private place for a job search.
Step 2: Let a password manager handle the passwords
Applying widely can mean dozens of portal accounts. Reusing one password across all of them is convenient, but if one careers site is compromised, every account sharing that password is exposed, including your email if it uses the same one.
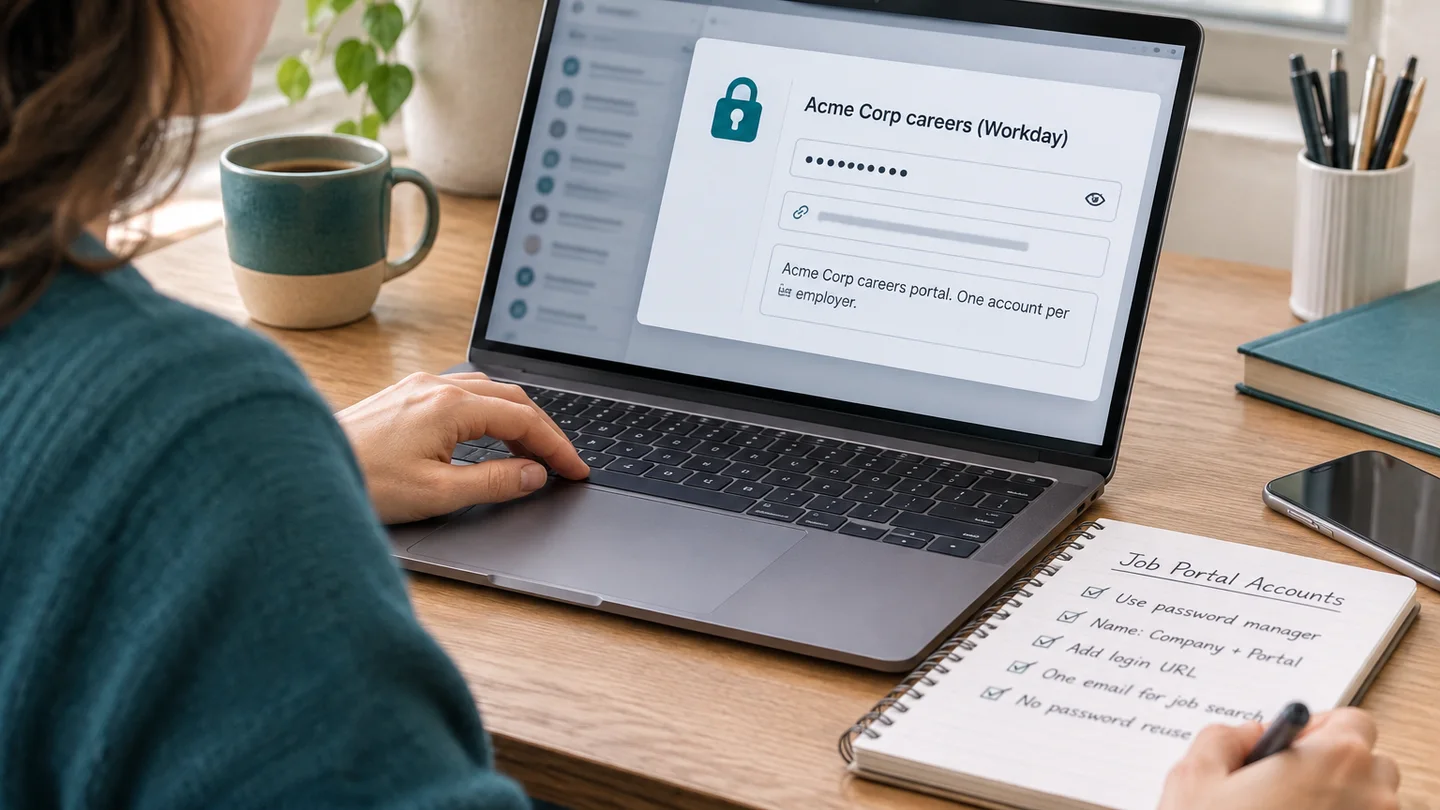
A password manager solves both problems: it generates a unique password for each portal and fills it in when you return. Save each entry with the company name in the title, for example "Acme Corp careers (Workday)", because the login page often shows only the vendor's branding or a generic domain.
- Install a password manager you trust and enable its browser extension.
- When a portal asks you to create an account, let the manager generate the password and save it immediately.
- Name the entry after the company, not the portal vendor.
- Add the direct login URL to the entry, because careers-site login pages can be hard to find again.
- Never reuse your email password on any portal.
Tip Many large employers run their own separate instance of the same portal software, so an account at one company usually does not sign you in at another. Expect one account per employer.
Step 3: Record every portal in your tracker
Your tracker already lists company, role and date applied. Add a few account fields so you can return to any application without hunting through email.
Do not store passwords in the tracker itself; that is what the password manager is for. The tracker should tell you where to log in and what state the account is in.
- Portal login URL (the page where you sign in, not the job post)
- Portal vendor if visible (Workday, Greenhouse, iCIMS and so on)
- Email used (useful if you ever change addresses)
- Account status: created, verified, profile complete
- Where status updates appear: in the portal, by email, or both
- Date you last checked the portal
- Notes: assessments pending, documents requested, talent-community opt-ins
Example
Example tracker row: Company: Northwind Logistics. Role: Operations Analyst. Applied: May 6. Portal: Workday, login URL saved. Email: jordan.lee.jobs@example.com. Account: created and verified May 6. Status shows in portal only. Last checked: May 13, still "In review". Note: online assessment link expires May 15.
Step 4: Handle verification emails immediately
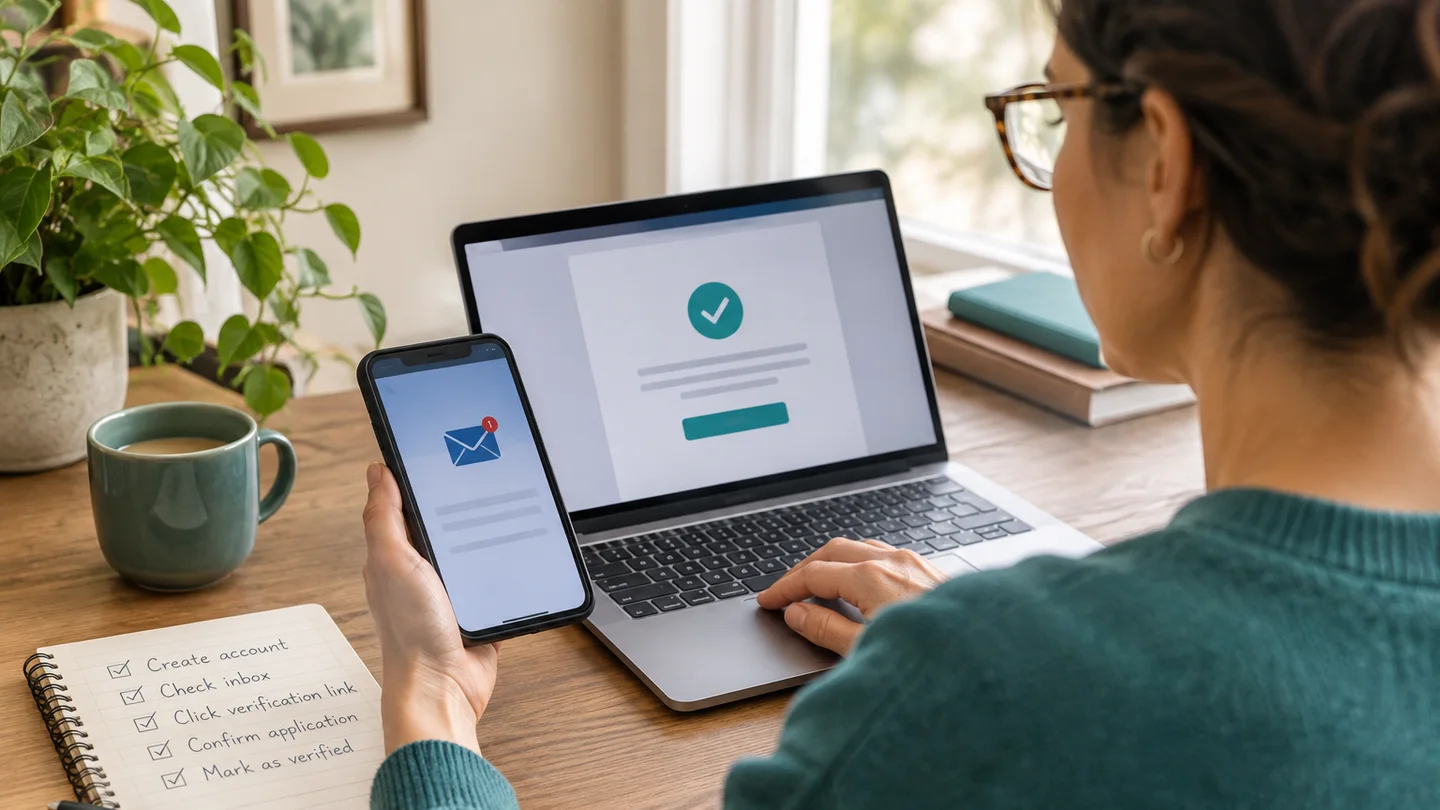
Many portals send a verification link or code before you can continue. These links can expire quickly, and an unverified account may leave your application unfinished without any obvious warning.
Keep your job-search inbox open in another tab while you apply. When a portal says "check your email", finish that step before you move on to the next job.
- Open your job-search inbox before starting a batch of applications.
- After creating an account, wait a minute and check the inbox and the spam folder.
- Click the link or enter the code, then return to the portal and confirm the application continued.
- If no email arrives, use the portal's resend option once and add the sender to your contacts.
- Mark the account as verified in your tracker.
- Before leaving, confirm you reached a submission confirmation page or received a confirmation email.
Tip If the portal says "application received" but you never got a confirmation email, log back in and check the application status before assuming it went through.
Step 5: Decide when to skip a portal
Not every application deserves a new account, a long profile and a re-entered work history. Having a rule ahead of time keeps you from spending an hour on a role you were lukewarm about.
Skipping is a reasonable decision, not a failure. You can often still reach the company another way, such as a referral or a short message to the recruiter or hiring manager.
- Skip or postpone when the role is a weak fit and the portal requires a long manual profile.
- Skip when the posting looks stale or the portal shows the requisition as closed.
- Pause if the site asks for sensitive data you are not comfortable giving at the application stage, and check whether the field is actually required.
- Prefer a guest or "apply without account" option when one exists and you do not expect to apply there again.
- Create a full account when you want several roles at that employer, since you will reuse the profile.
Tip If you skip a portal for a role you still want, note it in your tracker with the reason, so you can revisit it or try a referral instead.
Step 6: Check status and close out old accounts
Many portals show the application status only after you log in, so set a weekly routine to check accounts for active applications. Your tracker's last-checked date makes this quick.
When a search ends, tidy up. Unsubscribe from talent-community emails you no longer want, and if a company's privacy settings or contact page offers account deletion, use it for portals you will not return to. Keep the password manager entries until the accounts are closed.
- Once a week, sort the tracker by last-checked date.
- Log into each portal with an active application and record any status change.
- Complete any assessments or document requests before their deadlines.
- Mark applications as closed when rejected or withdrawn.
- After you accept an offer, unsubscribe or request deletion where you want to.
If an application agent creates portal accounts for you
This guide is published by Apply with AI, a Chrome extension, so treat this section as a description of our own product rather than an independent recommendation. The LinkedIn job agent in Apply with AI can apply to jobs that send you from LinkedIn to an employer's careers site, in the same run as Easy Apply jobs. When a careers portal insists on an account, it signs in or creates one with the email and password you keep in its settings.
It stops and waits for you, with a Continue button on the site and in the panel, when an email verification, a CAPTCHA it cannot handle, or an unknown login is in the way. On company sites it can attempt a verification checkbox and supported Google image grids using your vision-capable Claude or ChatGPT connection, and hands anything uncertain or unsupported back to you. It also handles some forms embedded from other sites, such as Greenhouse, Jobvite and Talemetry.
Auto-submit is on by default for LinkedIn runs. You can turn it off per run or in settings; the agent then fills everything and waits for you before the final Submit, including on external sites. Which jobs a run covers is your choice: Easy Apply only (the default), External websites only, or All jobs. These controls are specific to LinkedIn; the Upwork side of the product works differently and never submits proposals.
- Use your dedicated job-search email in the agent's settings, so verification messages arrive where you are watching.
- Choose a password used only for job portals, never your email password.
- Keep your inbox open during a run so you can clear verification stops quickly.
- Still log each employer in your tracker; the agent does not replace your own portal records.
- Consider turning auto-submit off for your first runs, so you can review each external form.
Tip Details, setup and current pricing are on the LinkedIn job application agent page and the pricing page.
Related guides
Frequently asked questions
Should I use the same password for every job portal?
It is better not to. If one careers site is breached, a shared password exposes every account using it. A password manager can generate and remember a unique password for each portal. At minimum, never reuse your email account's password on a portal, because that email can reset everything else.
Does one Workday account work for every company that uses Workday?
Usually not. Employers typically run their own separate Workday site, so you generally need a separate account for each company. Record each one in your tracker with its login URL.
I forgot which email I used on a portal. What now?
Search all your inboxes for the company name and words like "account" or "verify", then try the portal's password reset with each address. Going forward, a single job-search email and a tracker column for the email used prevent this.
Is it worth creating an account just to apply for one job?
It depends on fit. If the role is a strong match, yes. If it is a weak match and the portal needs a long manual profile, skip it or look for a guest-apply option. If you may apply to several roles at that employer, a full account saves time later.
Does Apply with AI submit applications on employer sites automatically?
For LinkedIn runs, auto-submit is on by default and applies to external employer sites too. You can turn it off per run or in settings, and the agent will fill the form and wait for you to press Submit. It pauses for email verification, unsupported CAPTCHAs and unknown logins regardless.